DIY Window Treatments

DIY Window Treatments
Stepping Up Your Home with DIY Window Treatments
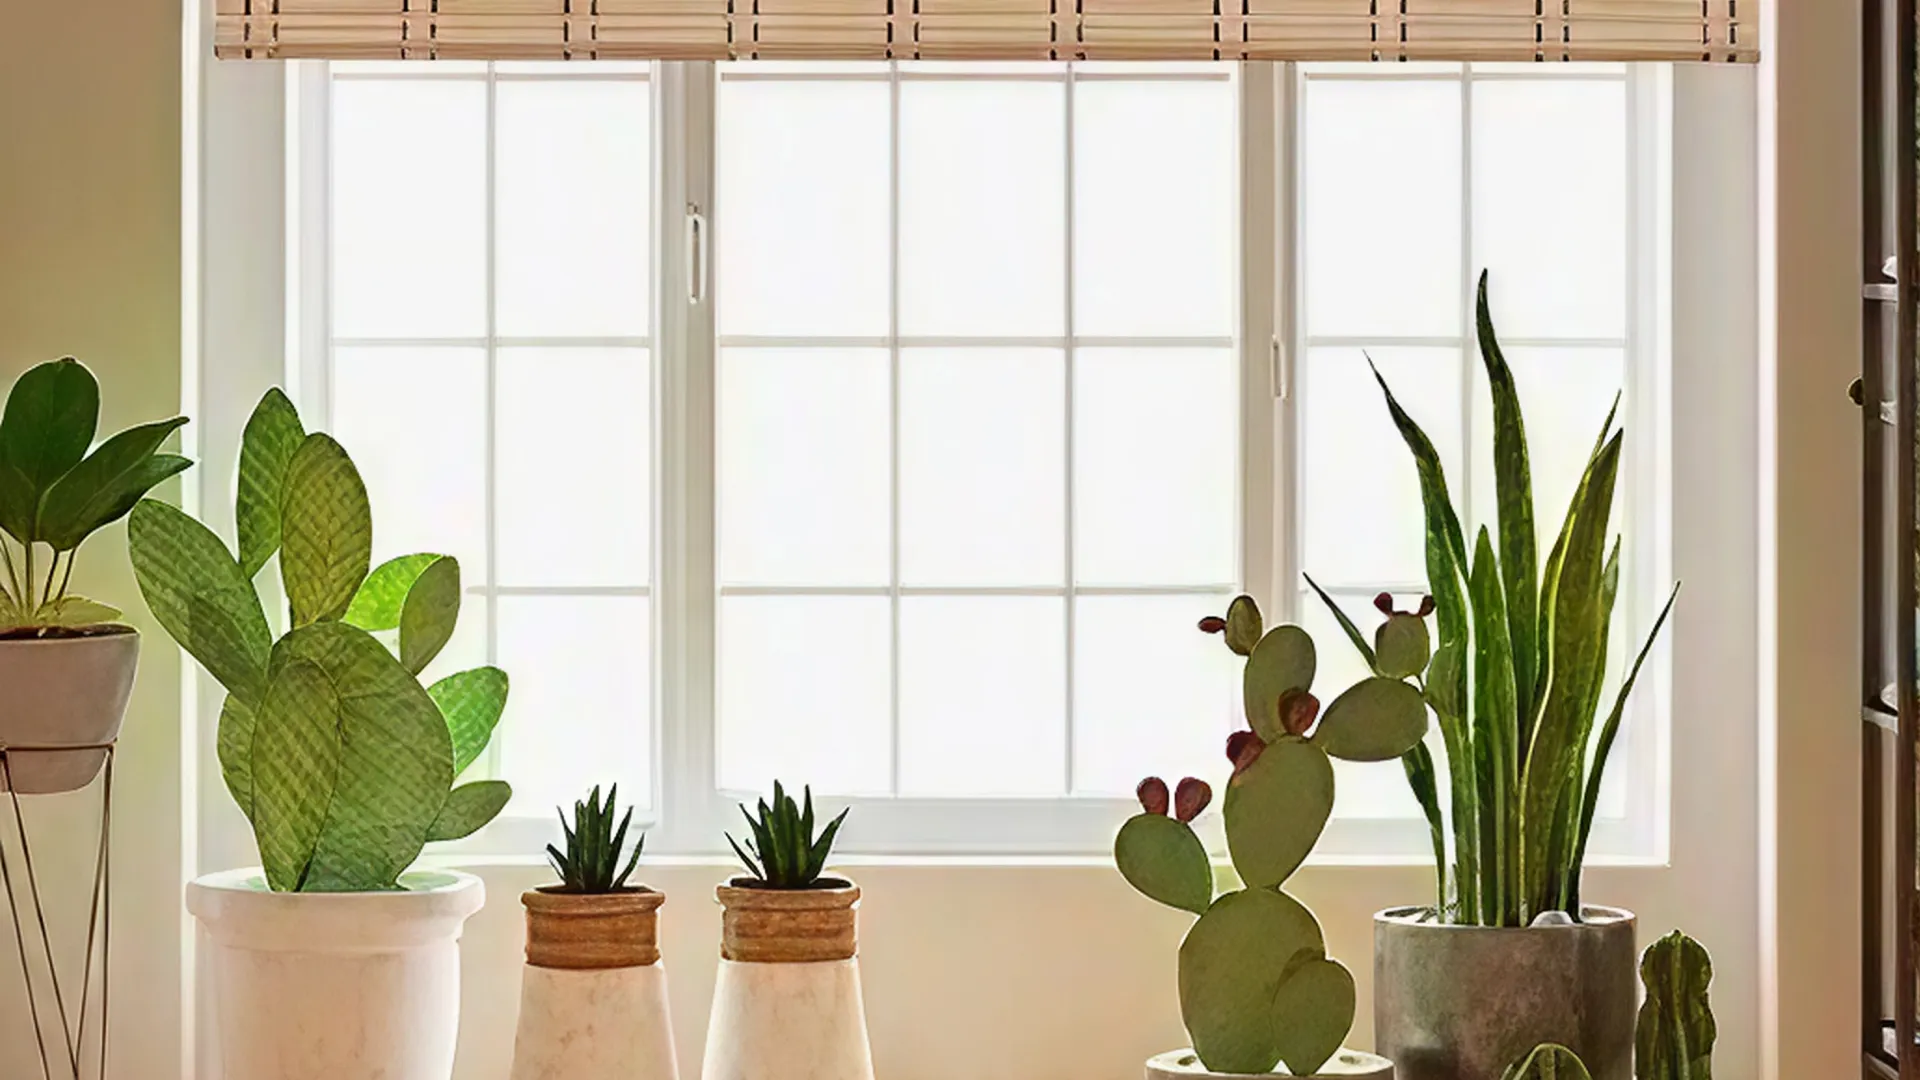
Framing your windows with homemade trim or a pair of chic blinds gives your rooms character and style. Many homeowners find that investing time in DIY projects leads to a unique finish that you rarely see in mass-produced products. A new trim along with carefully chosen blinds can make your windows look polished and complete. In addition to boosting aesthetic appeal, these updates help manage light, improving your room’s comfort. For instance, bamboo blinds provide a natural, warm touch, while classic Roman shades add a refined elegance. There is also the satisfaction of knowing you have personally contributed to making your living space feel both inviting and personalized.
Updating window treatments can also be very practical. Good quality blinds help with temperature control and privacy, while a sturdy trim can cover any gaps that occur with older, worn-out window sills. This means your home stays cozy during colder months and cooler during warmer ones. When choosing your style, think about a unified look that complements your furniture and overall decor theme. A thoughtful combination boosts the flow between rooms, creating a harmonious home environment. Over time, these updates can even add substantial value to your property.
Starting with Window Trim: Materials and Methods
Tackling DIY trim projects can be fun and surprisingly affordable. The process begins with a clear plan and a list of materials. You’ll need wooden trim pieces, a measuring tape, a saw, finishing nails, wood filler, sandpaper, and a can of paint or stain. These simple materials let you create trim pieces that perfectly match your style. The first step is to measure the window carefully. Accurate measurements ensure that the trim fits neatly around the window frame, eliminating the risk of unsightly gaps or misalignments.
Once you have your measurements, cut the wooden pieces to size. Pre-drilling small holes before you nail in the trim pieces can help prevent the wood from splitting. After attaching the trim with finishing nails, it’s time to smooth out any rough spots. Filling gaps or nail holes with wood filler and sanding down the surfaces prepares them for a clean finish. A fresh coat of paint or stain not only ties in the overall aesthetic of the room but also offers protection to the wood. This process may seem detailed, but each step contributes to a professional look that greatly gives a boost to your space and lasts for years to come.
Choosing & Installing Blinds That Complement Your Trim
Blinds are another popular window treatment. They come in many styles, and picking the right one can shape the light and mood of your room. Bamboo blinds bring in a natural vibe that pairs wonderfully with wooden trim, bridging the gap between indoor and outdoor aesthetics. Roman shades, on the other hand, offer a classic appearance that works well in more traditional settings. They provide smooth, gentle folds that add a refined touch to a room. The careful selection of blinds invites not only improved function but also contributes to a stylish atmosphere.
Before installation, think about how the blinds will function throughout your day. Options such as light filtering or blackout blinds give you control over how much light enters the room. When installing, make sure the blinds are hung securely and adjust well so that you can raise or lower them with ease. Often, installing blinds is as simple as following the manufacturer’s instructions. Spending a bit of extra time to double-check measurements and fit can make all the difference in achieving a finished look that is both functional and eye-catching. Properly installed blinds look sleek and take up a notch in transforming any window area.
Combining Trim & Blinds for a Unified Aesthetic
Many homeowners choose to mix the best of both worlds: DIY trim and elegant blinds. When you match a custom trim with stylish blinds, the overall appearance is both cohesive and inviting. Start by selecting a trim that compliments the color and texture of your chosen blinds. For example, a natural wood stain on your trim looks great when paired with bamboo or light-filtering blinds that emphasize earthy tones. This pairing not only adds professional finesse but also offers a smart way to connect indoor elements with natural textures.
This method creates a balanced look and adds a layer of depth to your windows. Consider how the two components work together: the trim creates a defined border while the blinds control light and privacy. A coordinated window treatment can serve as a focal point in a room. It offers both practical benefits and an artistic touch, with each element reinforcing the other. When the remainder of your decor follows a similar style, the overall design of your home becomes harmonious and well thought out. The effect is a personalized and inviting space that reflects your own creative style.
Helpful Steps and Considerations for Installation
With many DIY projects, careful planning ahead of time can ease the installation process. Begin by planning the layout of your window treatments and decide on both the trim and blind positions. Measure your windows multiple times to avoid mistakes. When it comes to installing trim, ensure that every piece lines up perfectly; misaligned pieces can detract from an otherwise polished finish. Taking time during the setup phase can smooth the way for a quicker assembly later on.
Here are a few key steps that can help guide your project:
Gather Your Tools and Materials: Begin by collecting everything you need, including the wood, screws or nails, weatherproof paint or sealant, and basic tools like a saw, hammer, drill, and measuring tape. Having your tools ready before starting avoids unnecessary delays.
Cut the Wood to Size: With your design in hand, measure and cut the wood according to the dimensions of your planter box. Double-check your measurements to ensure accuracy; a precise cut helps the box fit together smoothly.
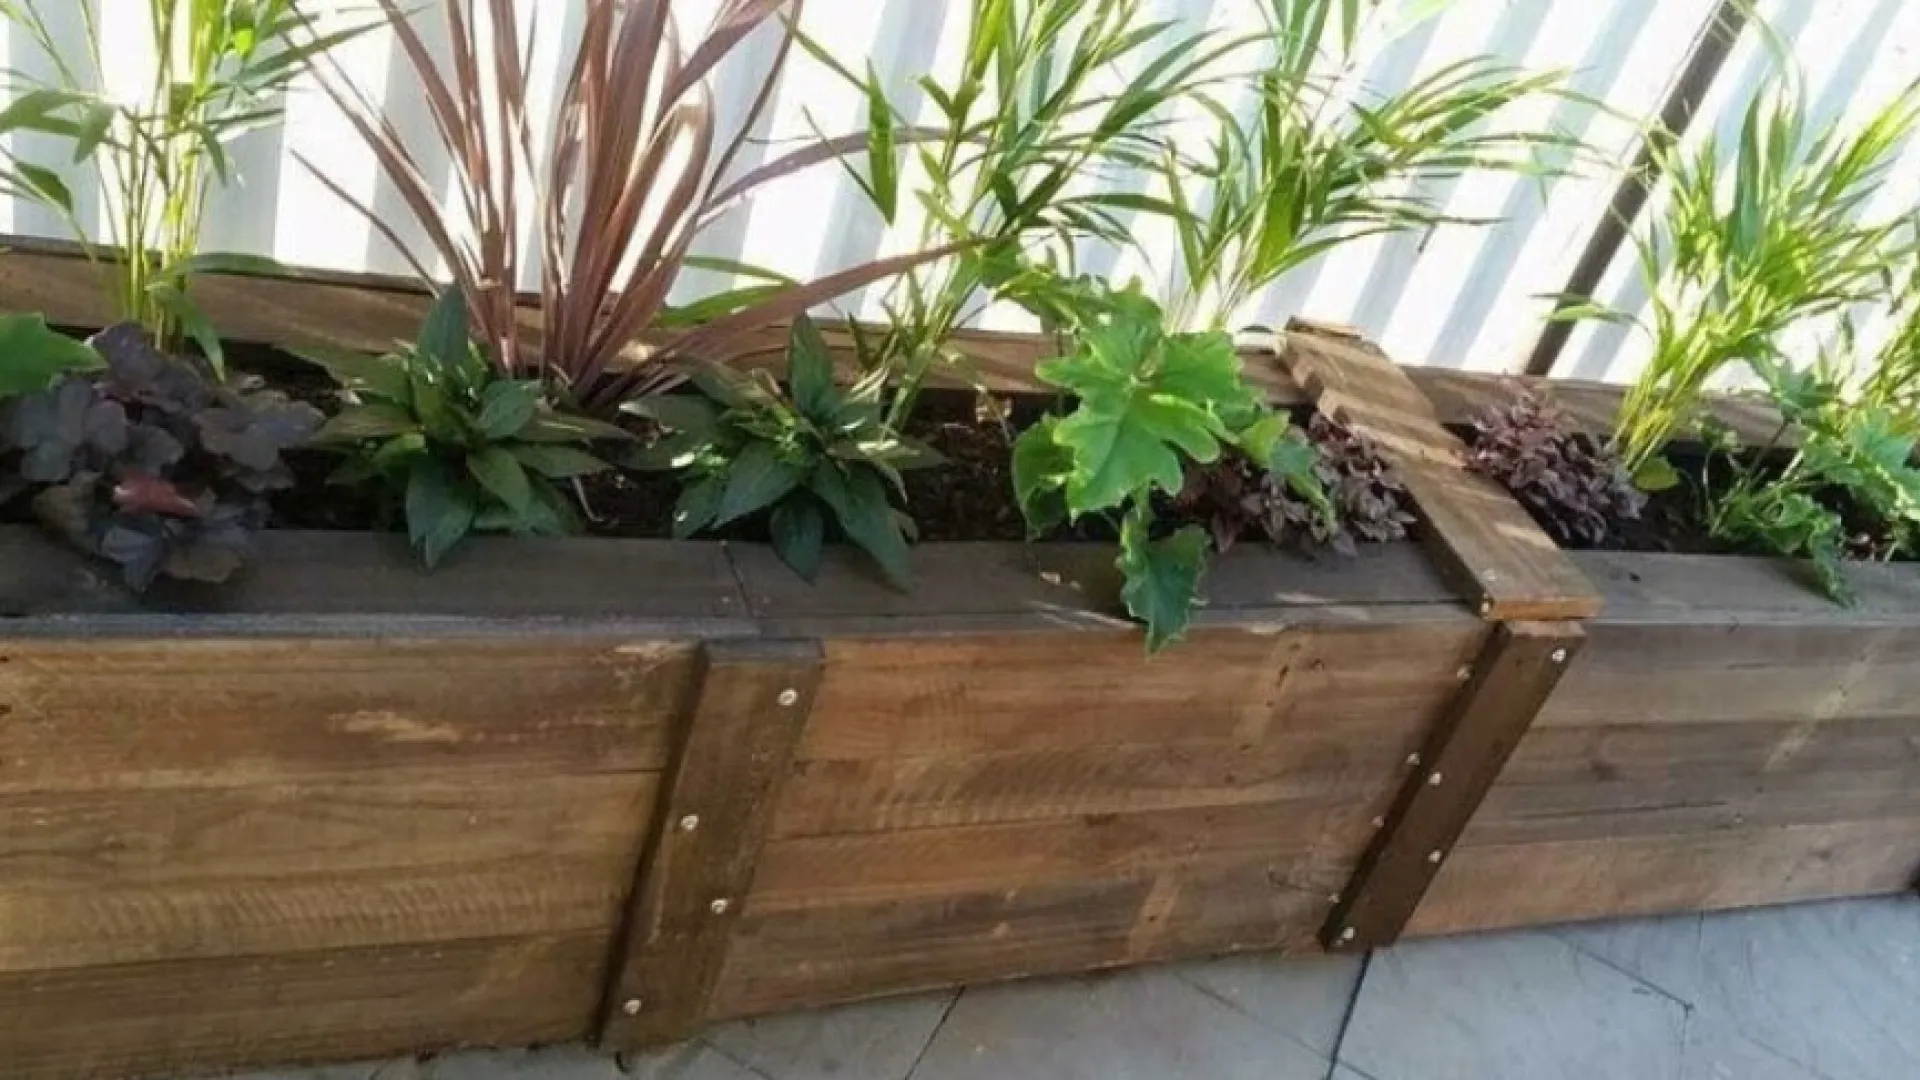
Assemble the Box: Arrange the wood pieces to form a rectangle or square. Secure the joints tightly with screws or nails. If you’re new to woodworking, taking extra care to align pieces correctly is very important. Adding extra supports for larger boxes or those meant to hold heavier loads can be a smart move.
Create Drainage: Healthy plants depend on proper drainage. Drill several holes in the bottom to let excess water escape. This simple step prevents water from pooling, which in turn protects the wood from decay.
Prepare the Site: Position your planter boxes in the desired location. It’s essential to level the surface so the box sits evenly. A stable base not only supports better plant growth but also prolongs the life of your creation.
Fill with Soil and Plant: Once the box is positioned, fill it with quality soil. I usually mix in some compost to boost fertility. Then, plant your chosen herbs, flowers, or native plants. This final touch transforms a simple wooden box into a thriving garden feature.
For blinds, follow the instructions provided with your product. Adjust light filtering or blackout options based on your needs. Taking extra care during installation will pay off in a finished product that remains functional and attractive for years to come. Adding a few extra reinforcing steps, such as checking alignment after each stage of installation, can smooth the way for future maintenance and easy upgrades.
Troubleshooting Common Issues and Advanced Tips
Even straightforward DIY projects can encounter a few hiccups. One common issue with trim is uneven cuts. To fight this challenge, consider different types of saws and check your measurements twice before making any cuts. If your trim doesn’t line up perfectly, using a level during installation can help correct minor discrepancies. This patience during installation is very important for achieving the best outcome possible.
Another frequent challenge is ensuring the blinds hang evenly. Sometimes, brackets may need readjusting or the mounting surface may require additional support. If you find that the blinds are not operating as smoothly as they should, check for obstructions and consider lubricating the moving parts slightly. Other tips include ensuring that the trim does not interfere with the operation of the blinds. When both are installed, the trim should frame the window without preventing the blinds from sliding open or closed. It is a matter of careful planning and testing adjustments along the way.
Advanced DIY enthusiasts sometimes experiment by combining different textures and hues, adding extra decorative elements like corbels or small molding details. These touches can pump up the character of your window treatments without compromising their function. The key is to work gradually, adding extra details once you are confident with the primary setup. This approach builds confidence and ensures that your main window functions—light control and insulation—remain unaffected, keeping your home comfortable and stylish.
Frequently Asked Questions
Question: What are the best materials for DIY window trim?
Answer: Wood is a popular choice for DIY trim because it is both versatile and easy to work with. Pine is often used for its affordability, while oak or maple can lend a more upscale look. Matching the stain or paint to your room’s decor is really important.
Question: Which blind style works best with DIY trim?
Answer: It depends on your style and needs. Bamboo or wood blinds tend to complement a natural, organic trim, whereas fabric blinds like Roman shades bring a timeless elegance. Consider the room’s overall design and desired light control when making your selection.
Question: How can I ensure that my trim does not interfere with the blinds’ function?
Answer: During installation, make sure the trim is installed neatly and with enough clearance for the blinds to operate. Mark the window frame thoroughly before cutting the trim, and check that the final pieces allow the blinds to move freely.
Question: Are there any maintenance tips for keeping both trim and blinds in good shape?
Answer: Regular cleaning is key. Dust the trim with a soft cloth and wipe down the blinds as directed by the manufacturer. Periodically check that nails or mounting brackets are secure and adjust any loose or misaligned parts to keep everything looking fresh.
Final Thoughts on DIY Window Framing Projects
Updating your windows with DIY trim and well-chosen blinds offers a practical way to refresh your home. Not only does the project give a boost to your space aesthetically, it also improves functionality by managing light, privacy, and energy efficiency. By carefully measuring, cutting, and finishing your materials, you can achieve a professional look that truly reflects your personal style. Every step of the process has its own rewards and challenges that help you grow as a DIY enthusiast.
Taking the time to plan, experiment, and adjust your installation ensures that the final result is both beautiful and long-lasting. As you gain more experience with basic techniques, you might decide to add extra decorative touches that make your windows even more distinct. For example, incorporating unique molding designs or experimenting with varying textures can turn a simple window treatment into a standout feature of your home.
There is also value in the learning process. Each project teaches you something new about precision, creativity, and problem-solving. Over time, these experiences add up, empowering you to take on more challenges in home improvement. The journey of DIY is about making everyday spaces uniquely yours. With every nail hammered and every stroke of paint applied, your home becomes a canvas for self-expression.
Wrapping up, whether you are new to DIY projects or have some experience under your belt, framing your windows with trim and blinds offers countless opportunities for creative expression and practical improvements. The process is manageable with clear steps and a bit of extra care, and the results can completely transform your living environment into one that feels uniquely yours.
This detailed exploration of DIY window treatments has shown that mixing a touch of style with hard work can bring together both form and function. Enjoy the process as you transform each window into a work of art, and remember that each improvement is another chance to brighten up your space in a way that is deeply personal.
Keep Reading
 Education
Build Your Own Garden Planter Boxes
 Information
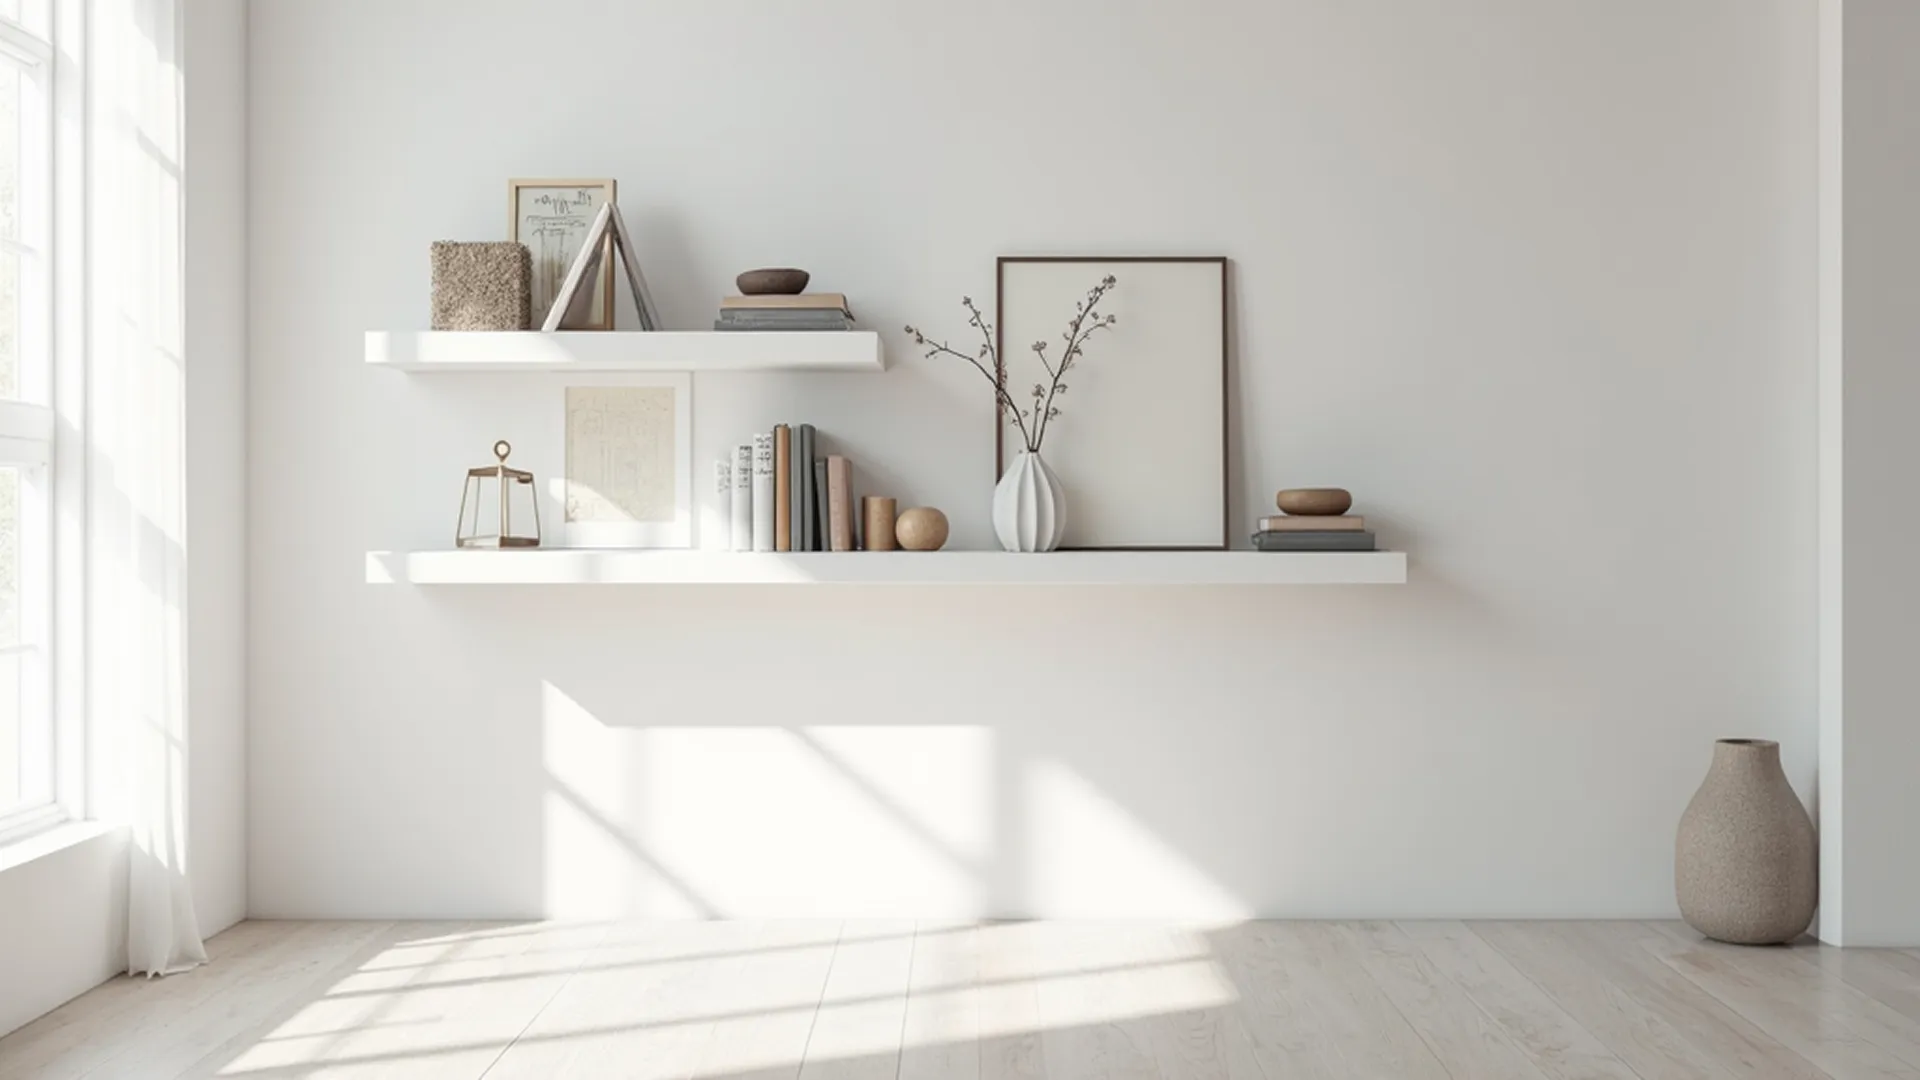
Install Floating Shelves for Style and Functionality
 Education